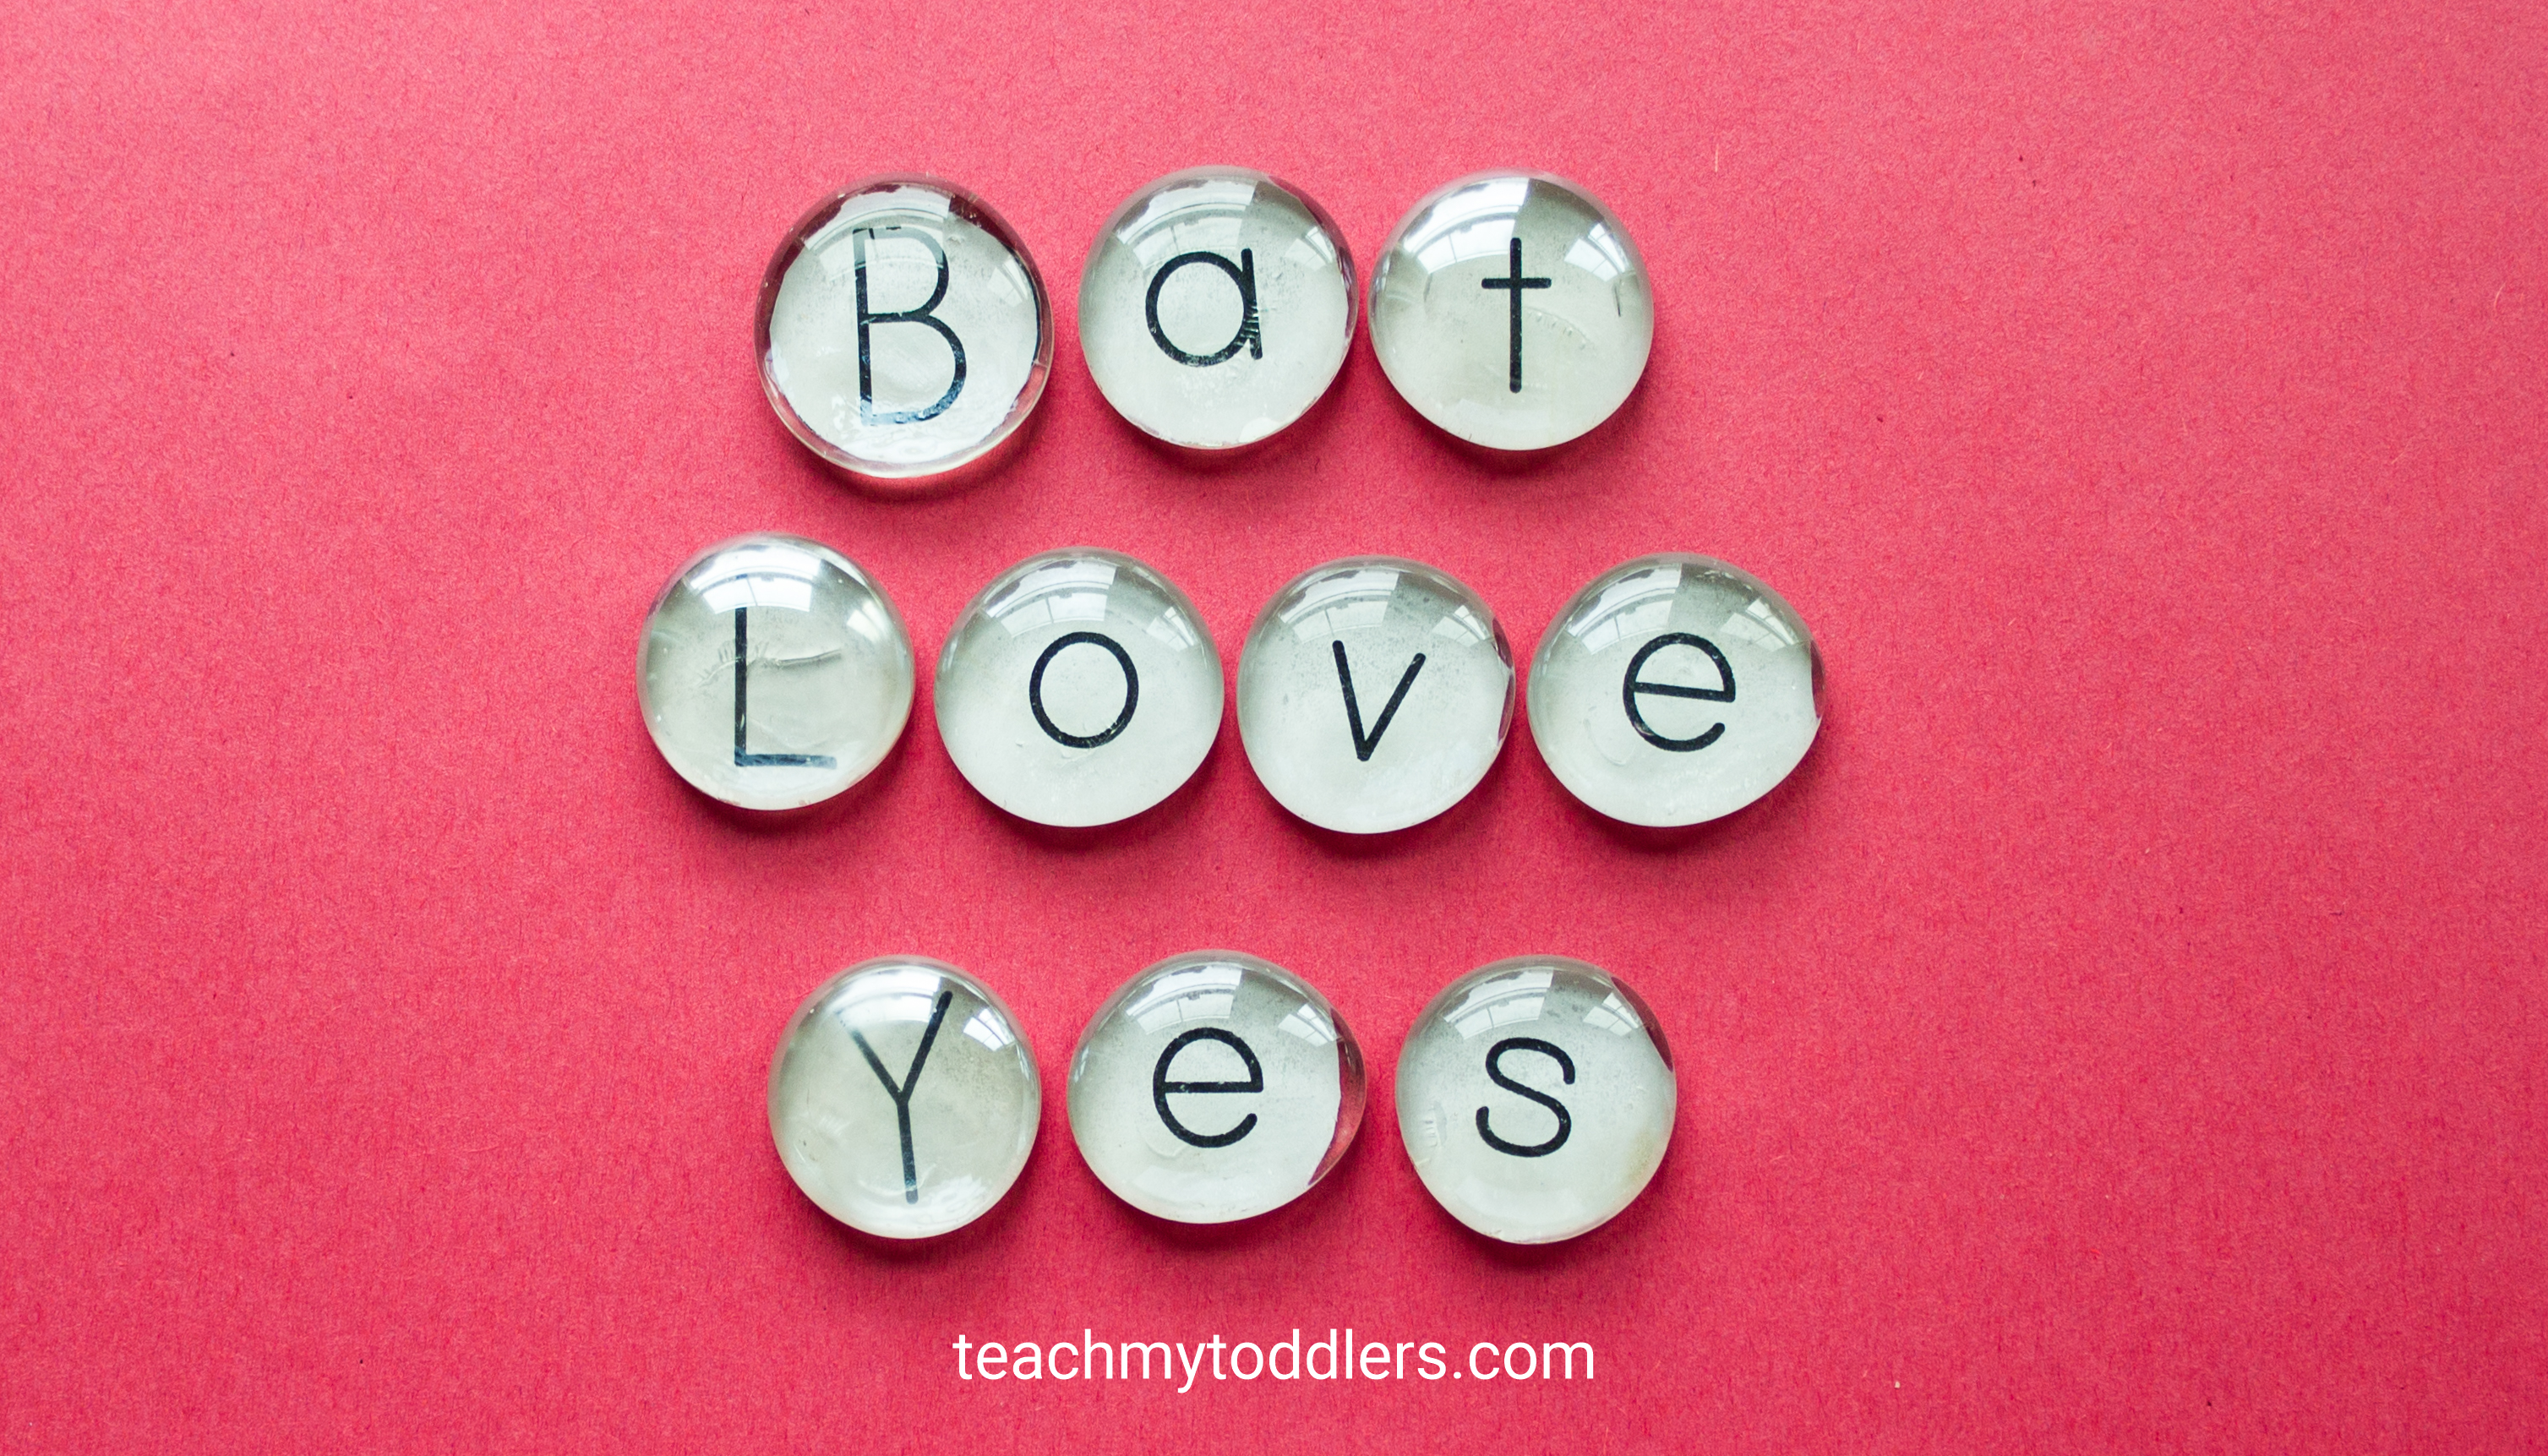
A little while ago I spent the day making a flat marble alphabet. What is a flat marble alphabet you ask? Have you ever seen those awesome magnets made from those clear flat marbles that you can buy from the dollar store? It’s like that, but without the magnet. Still don’t know what I’m talking about? Let me show you….
Support Teach My Toddlers by using the affiliate links in our articles to shop. We receive a small commission (at no extra cost to you) so we can continue to create helpful free content. Thank you, we appreciate it!
First, you’ll need several packages of clear flat marbles. I bought two packages because I wanted an uppercase alphabet and a lowercase alphabet. There was enough in each package to make the entire alphabet and to make some extra letters for words like apple and dinner (a, e, i, o, p, t, l, n, r are the extra letters I made).
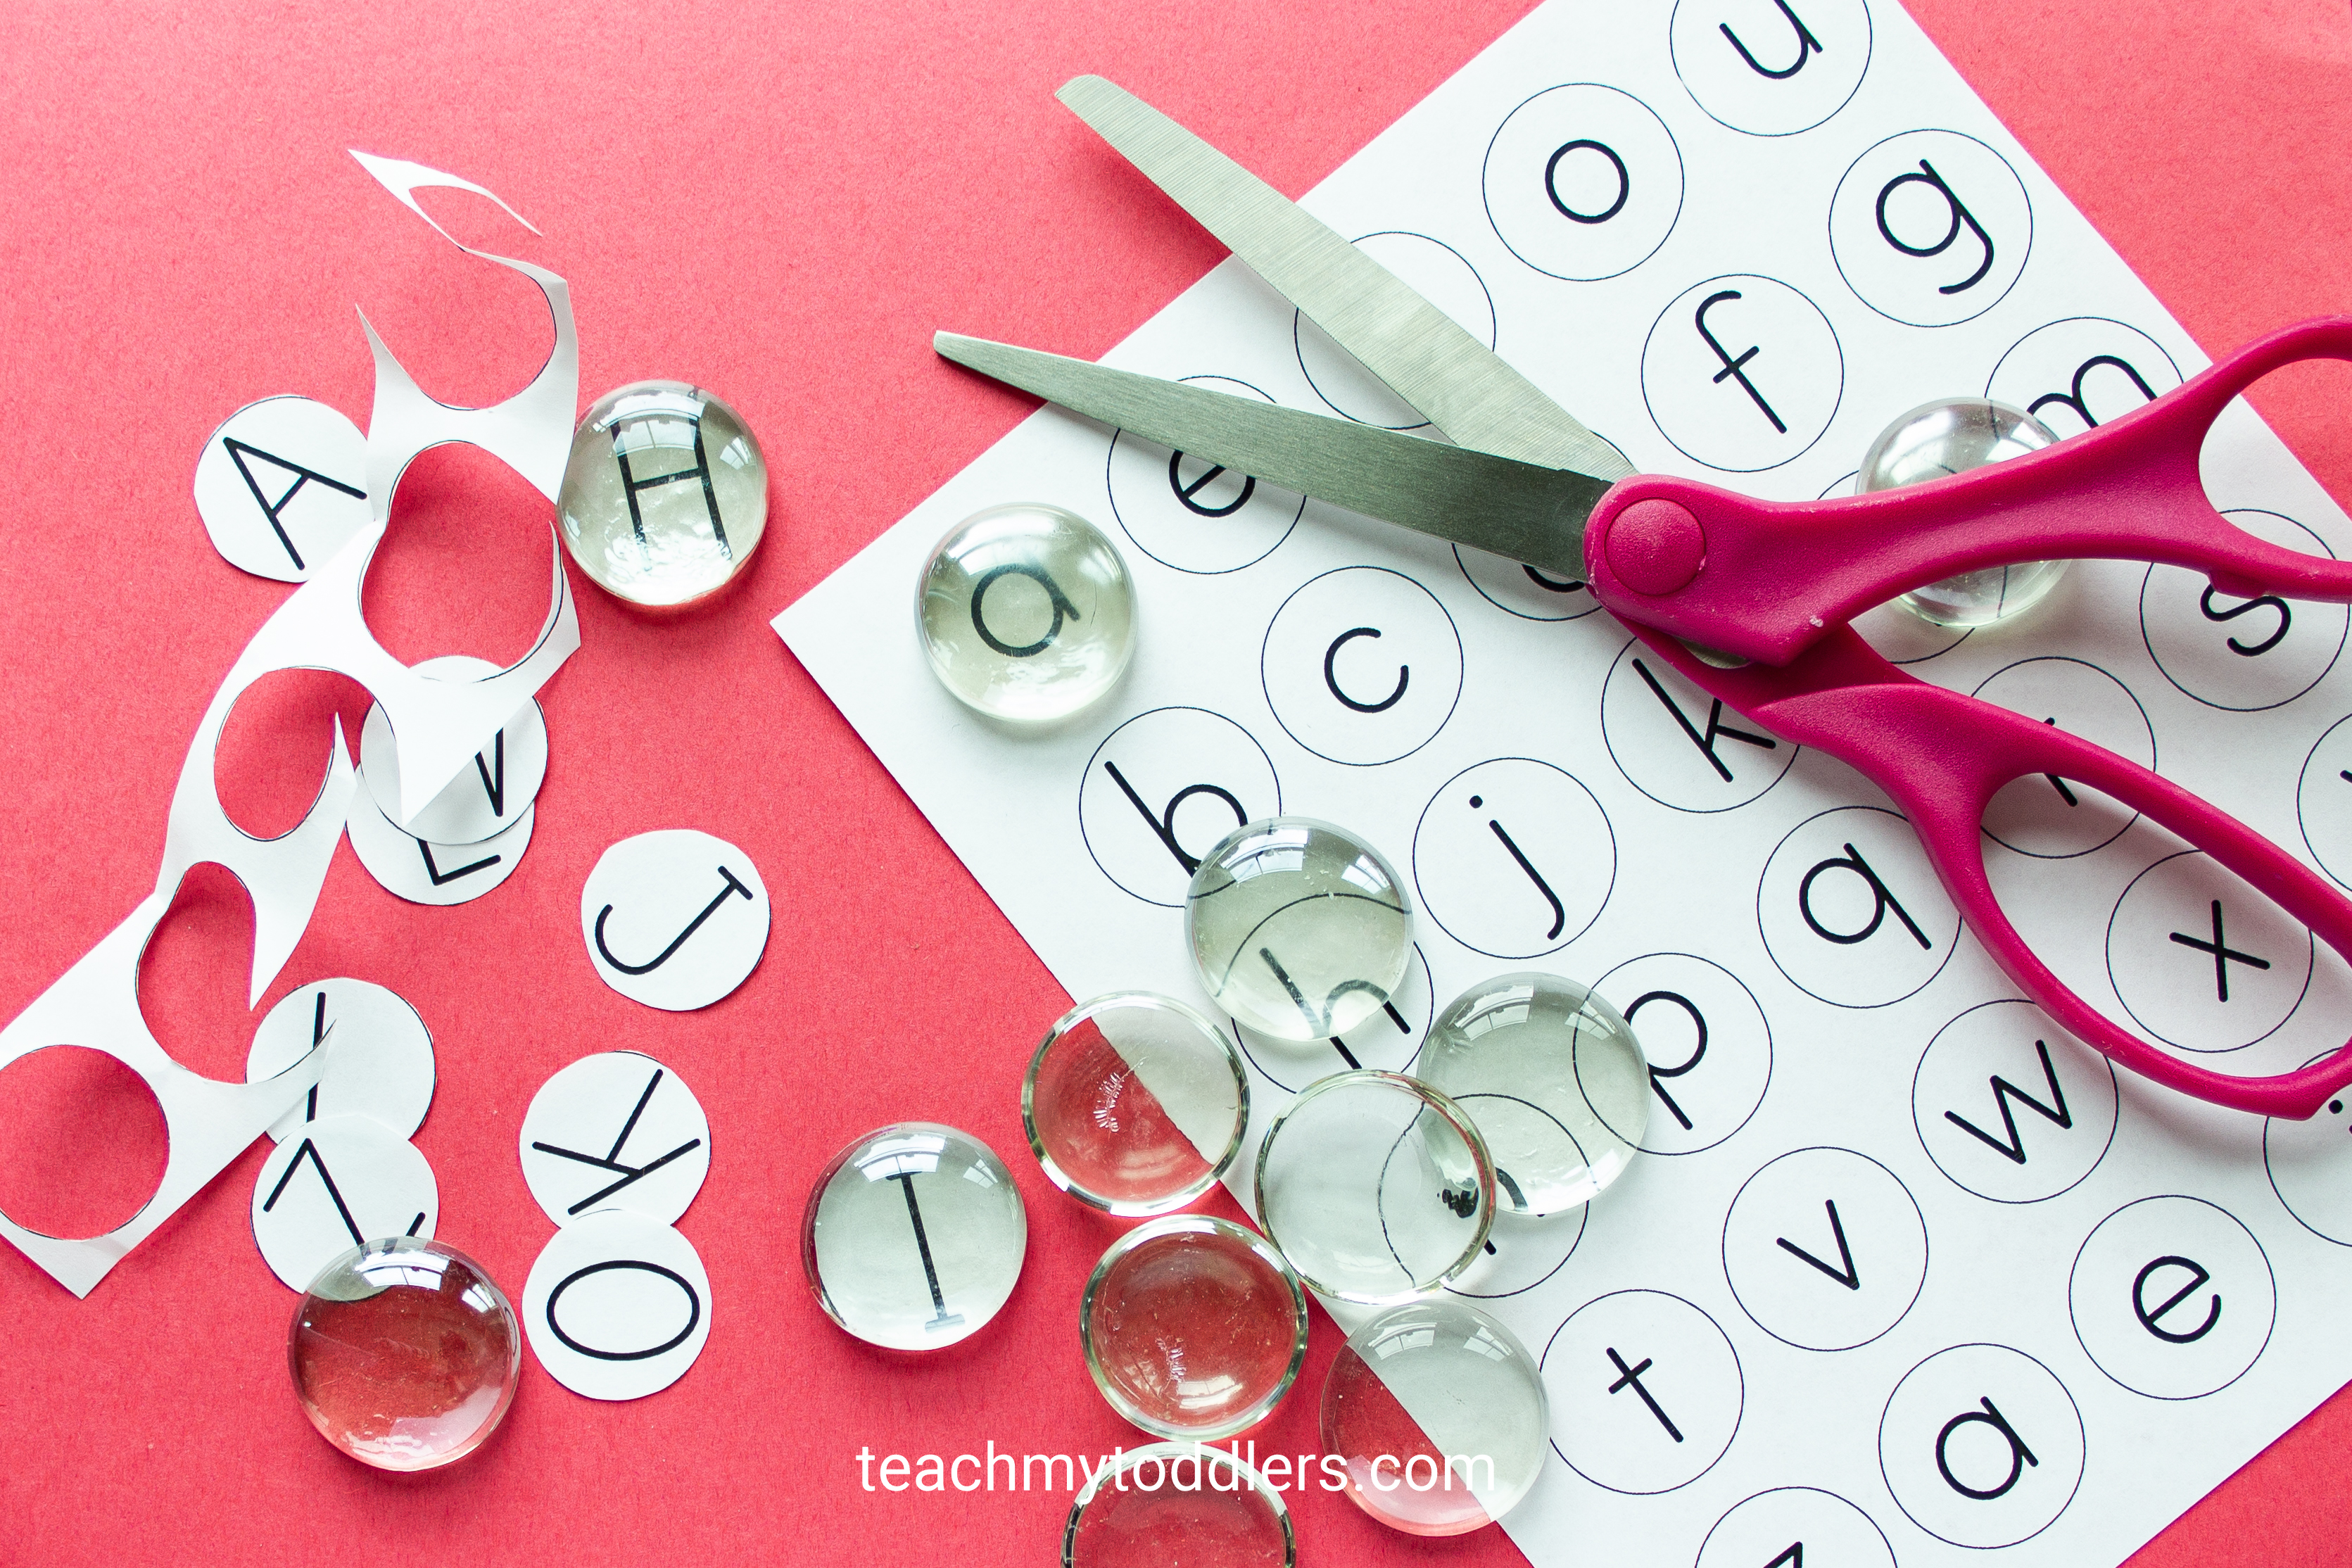
Next, print some letters that will fit on the marbles. You can just do this using trial and error, but I printed mine from the Confessions of a Homeschooler blog. These letters go along with her Letter of the Week curriculum. You can find them on the Bottle Cap Letter Matching activity.
Note: I did have to resize the page before printing because the letters were too big for the marbles I got. In Adobe after hitting print, I just clicked “properties.” Then I clicked “effects.” Then I clicked the “% of normal size” option and moved the button down to 80%. This was the perfect size for the dollar store marbles. If you have bigger marbles, you might be able to skip this step.
Once your letters are all printed, cut out the circles.
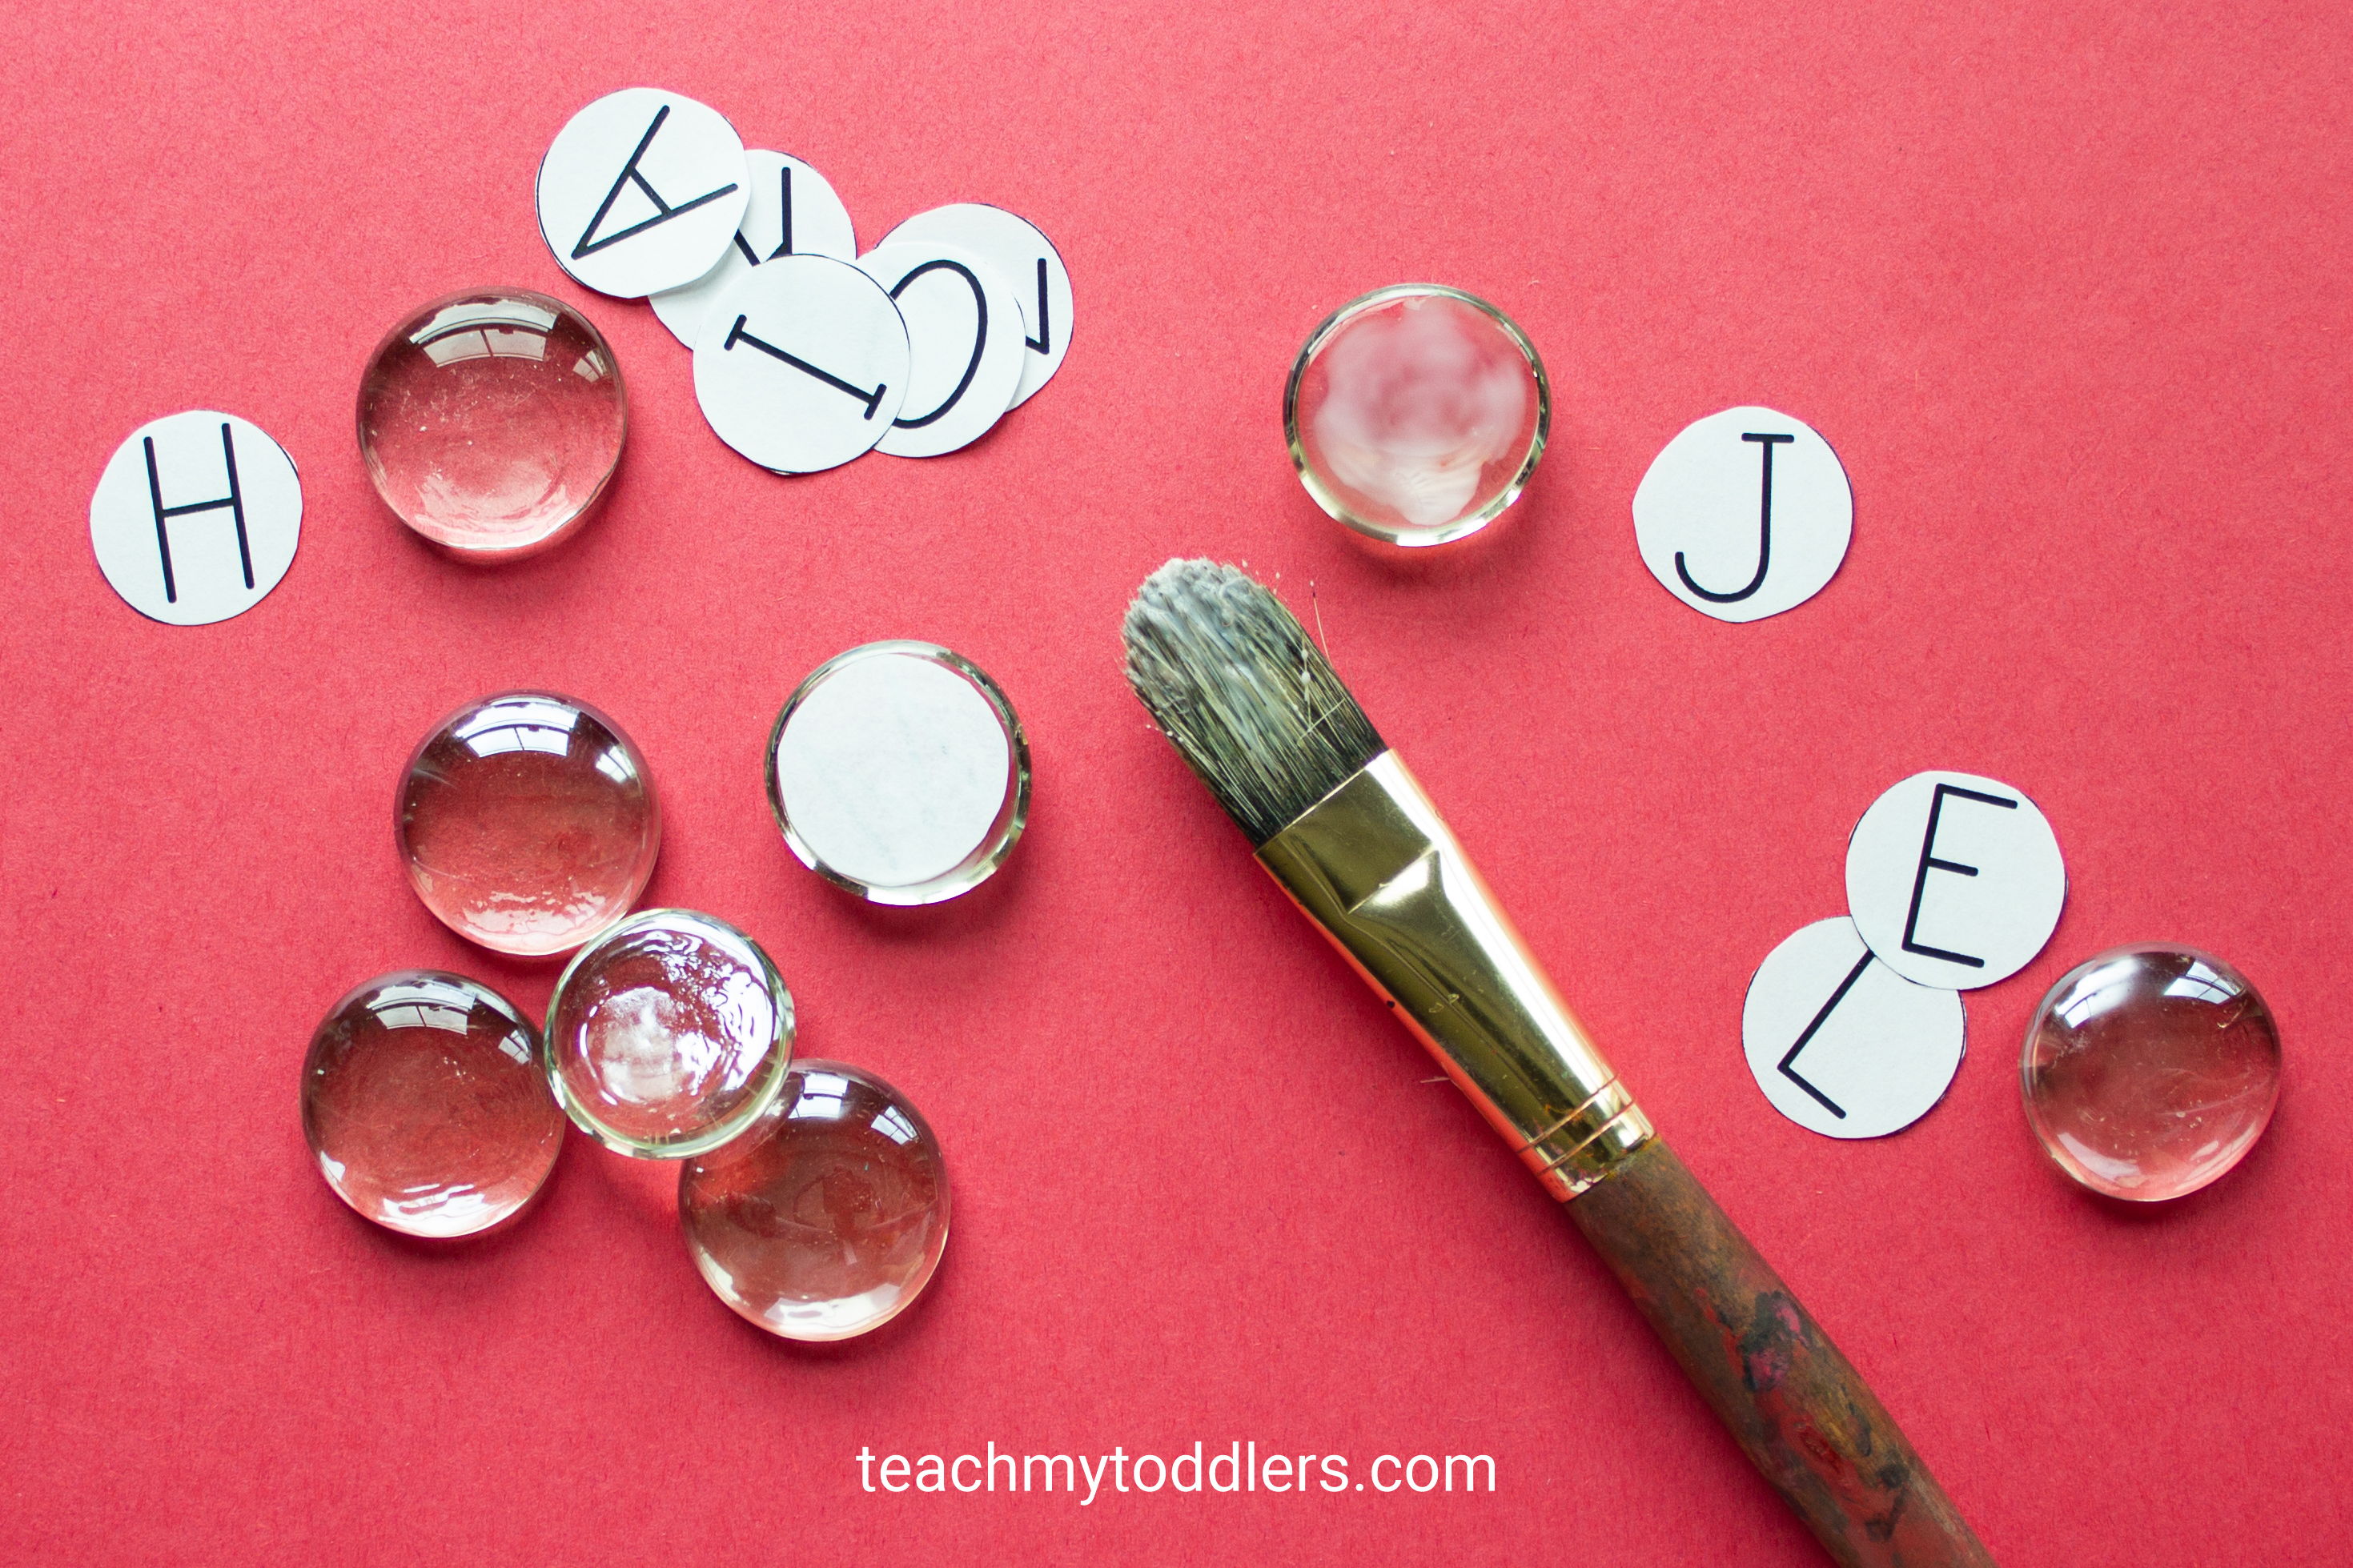
Next, paint a little bit of mod podge onto the flat side of the marble. Put a letter on the flat surface with the letter side touching the marble. Be sure you can see the letter through the marble. Now, paint the back of the paper and the sides of the paper with mod podge. Repeat this step with all of the letters.
Let the letters dry for several hours or overnight.
Now the fun begins!
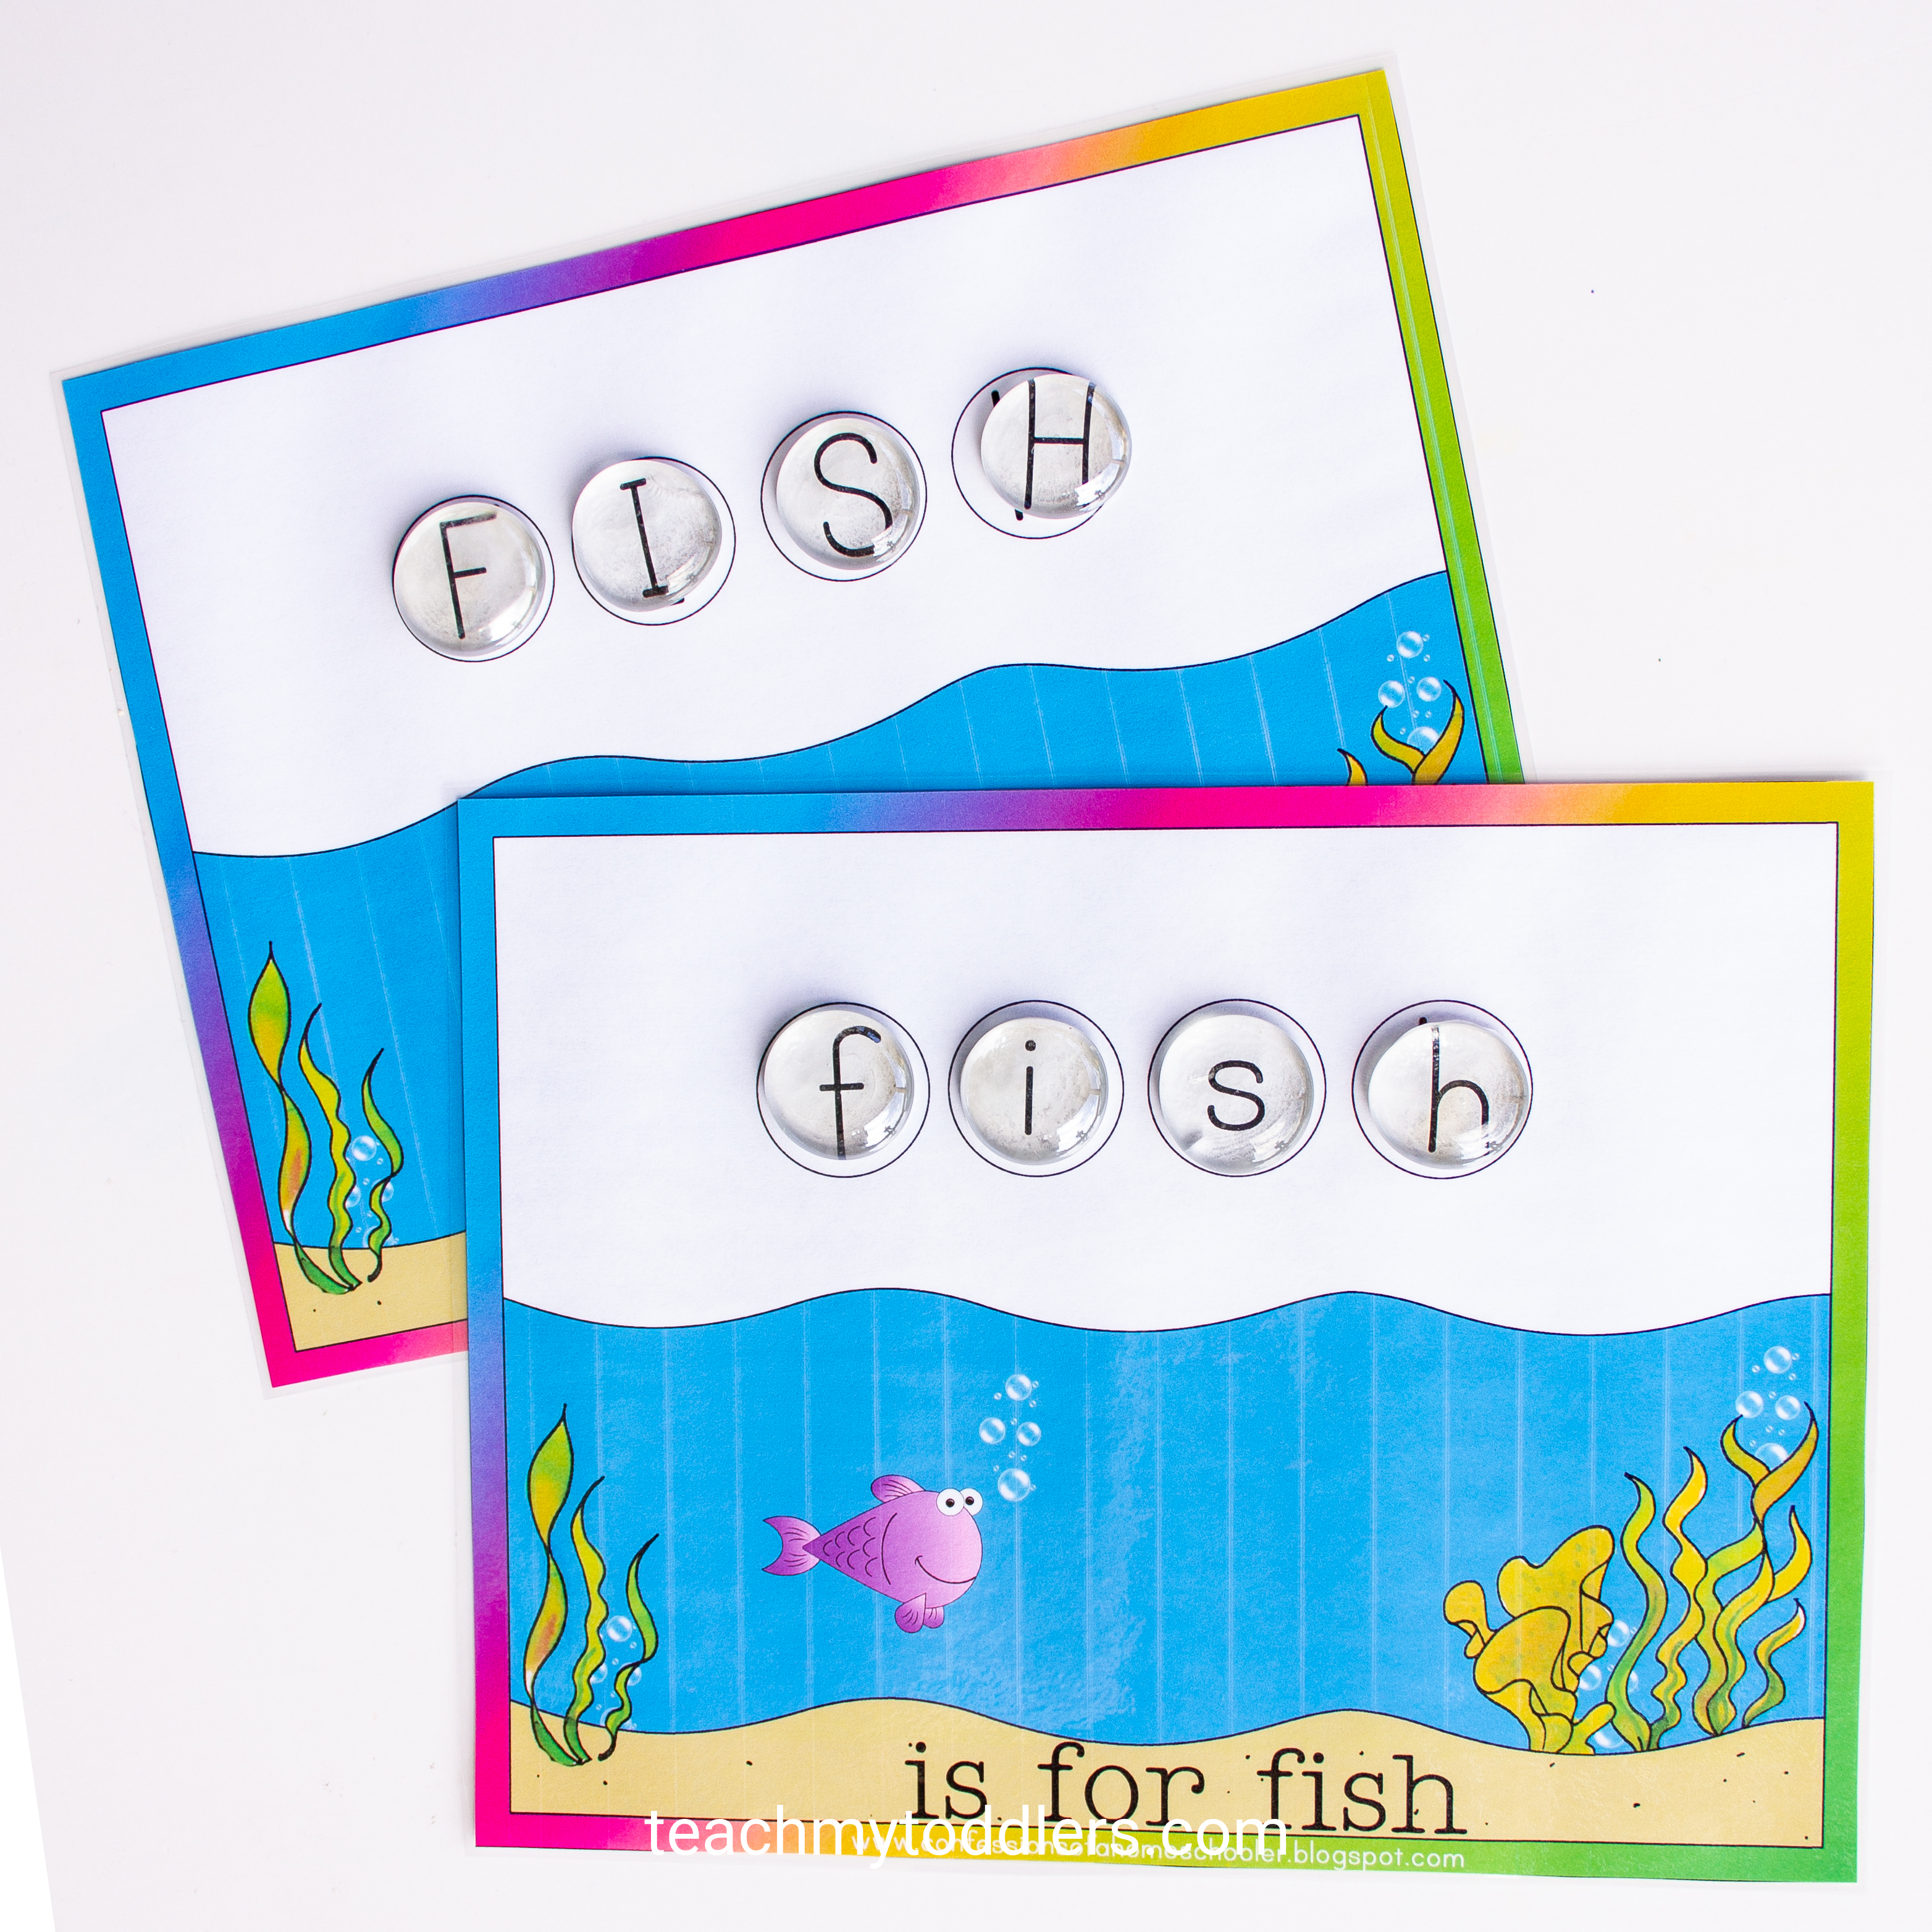
Using the marble letters with the Letter of the Week activities was a great way to use these letters. They are smaller than the letters on the activities, but that didn’t matter much. They still worked great.
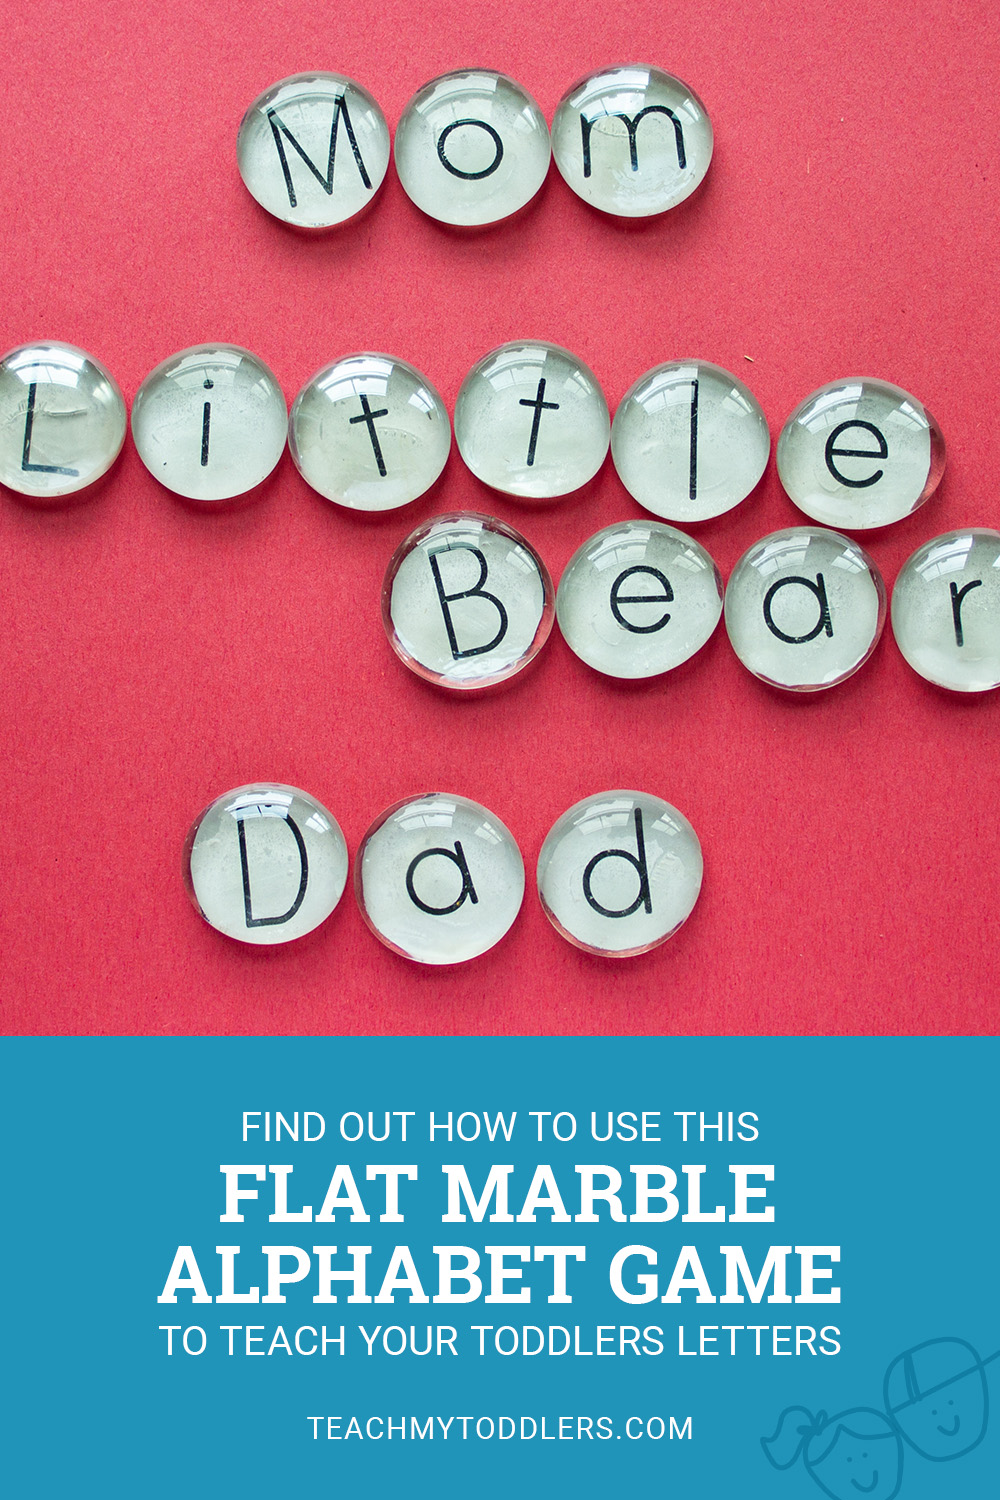
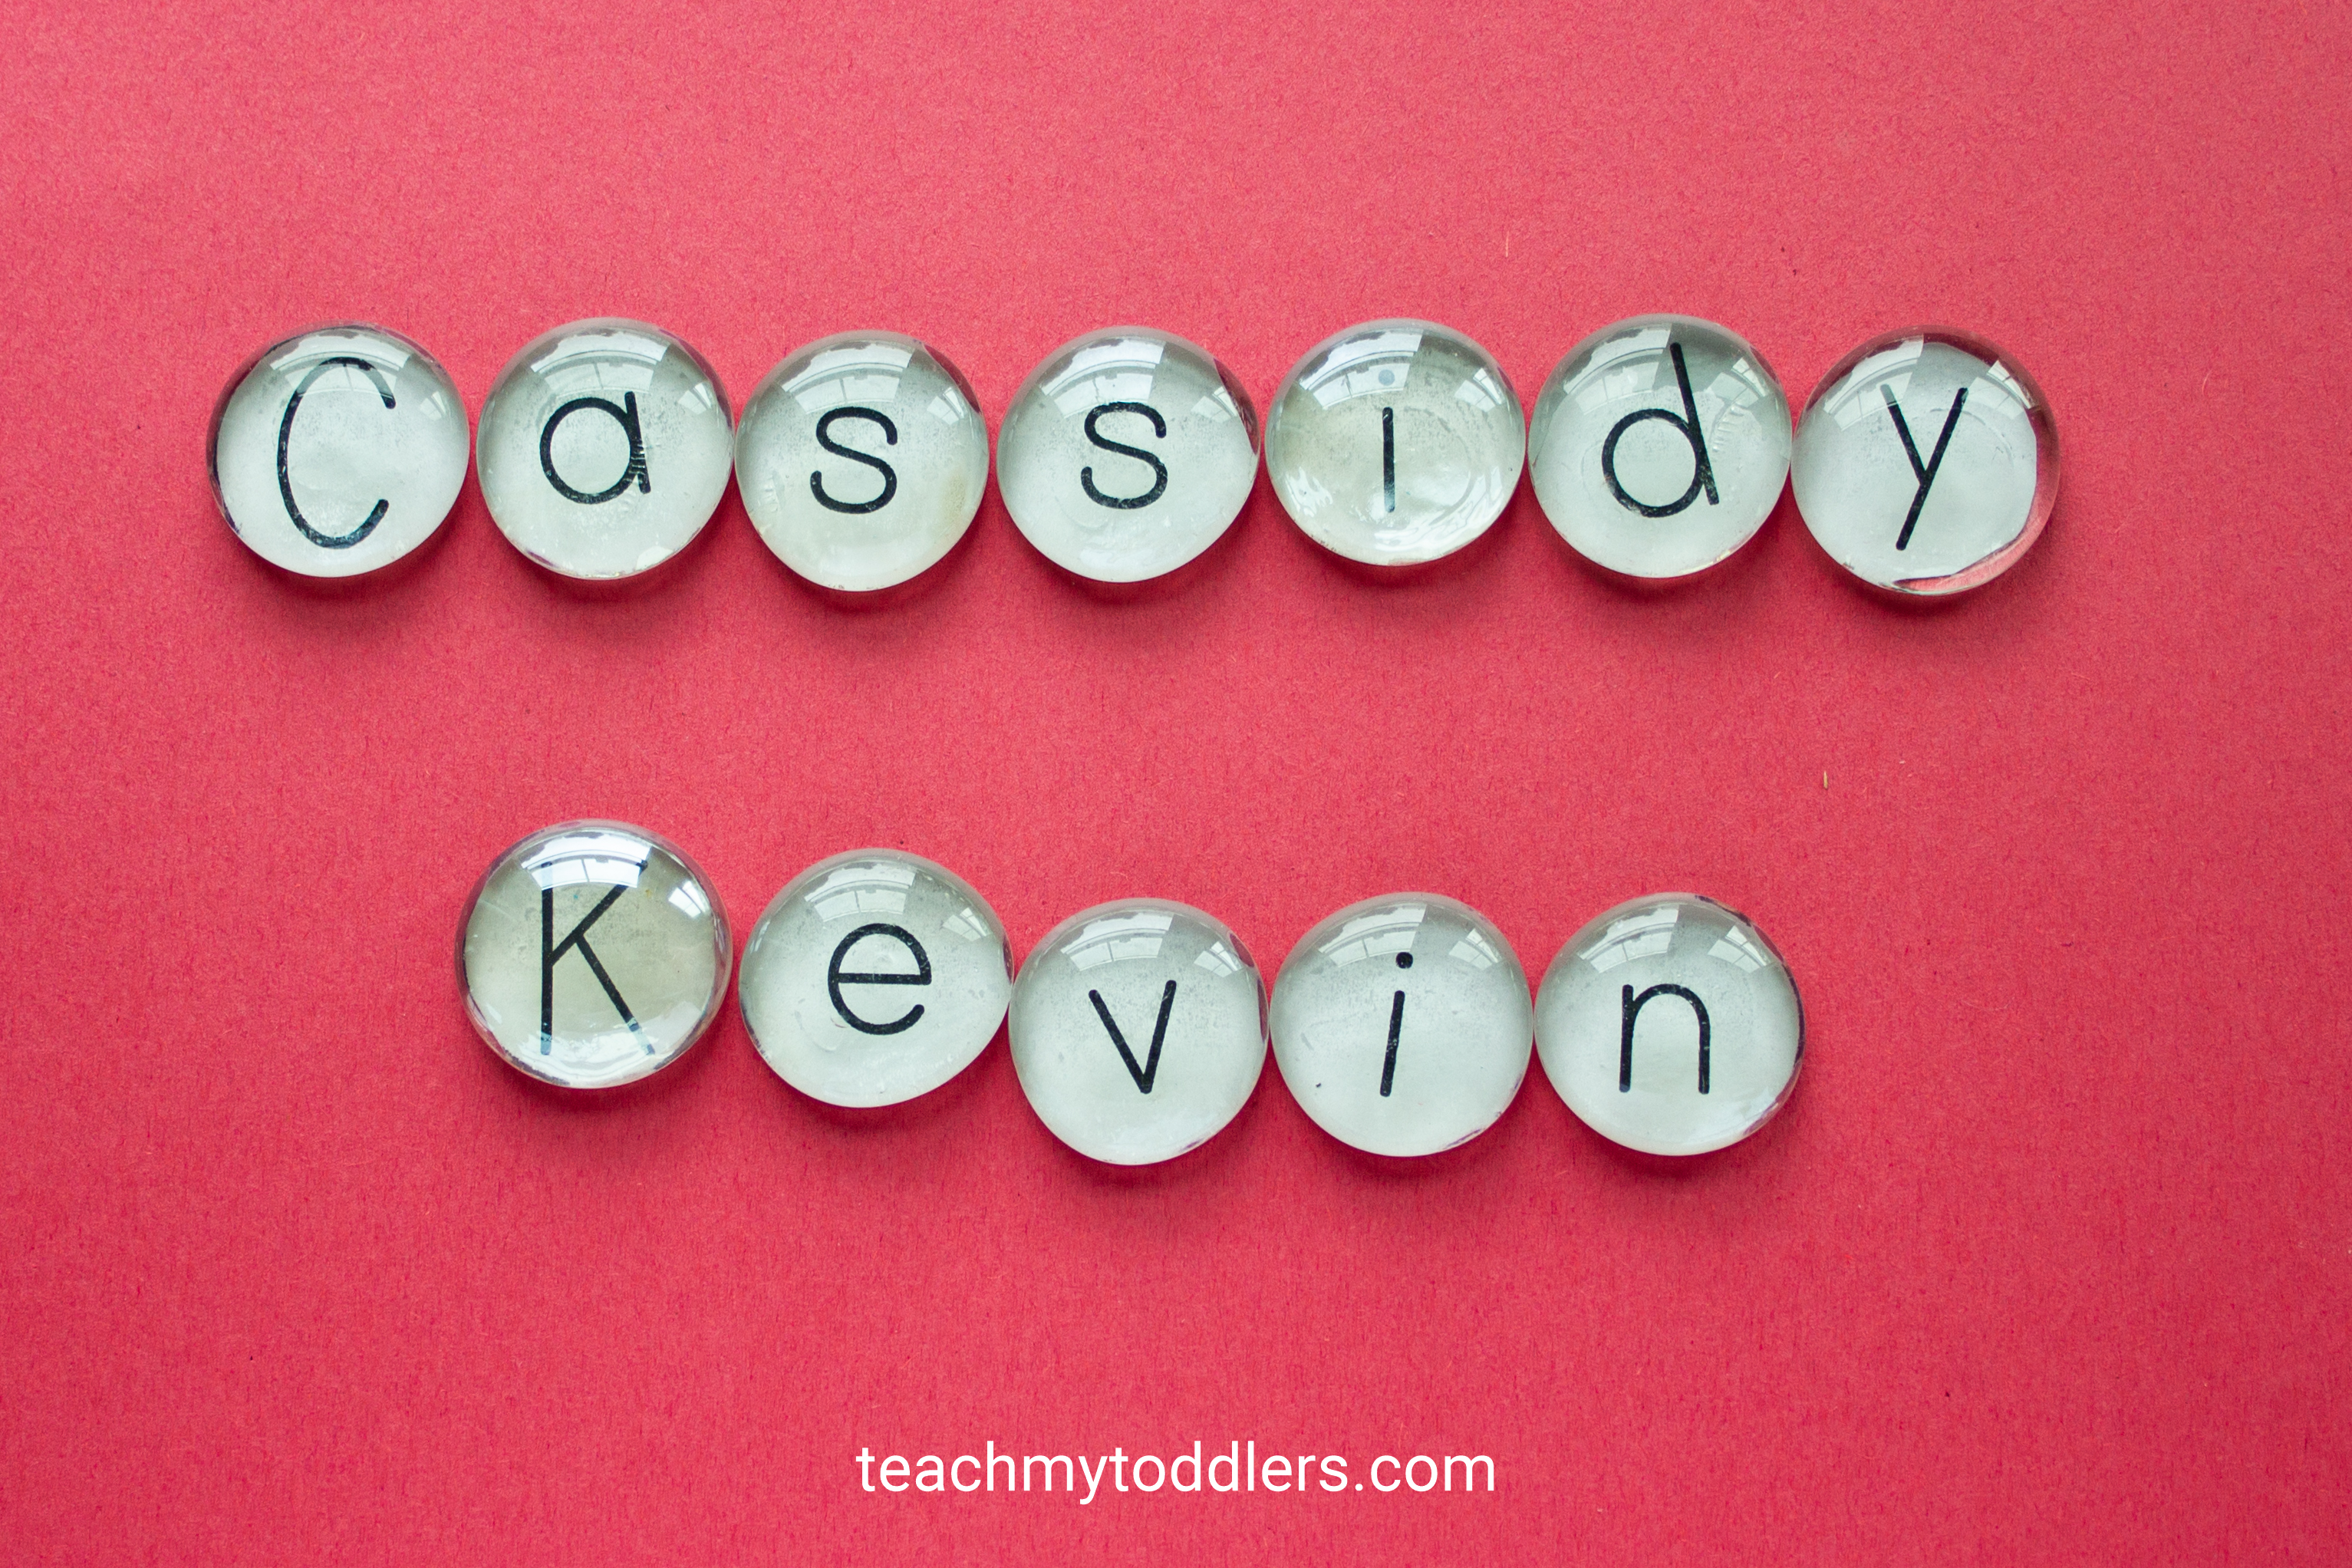
We also had a fun time making our names.
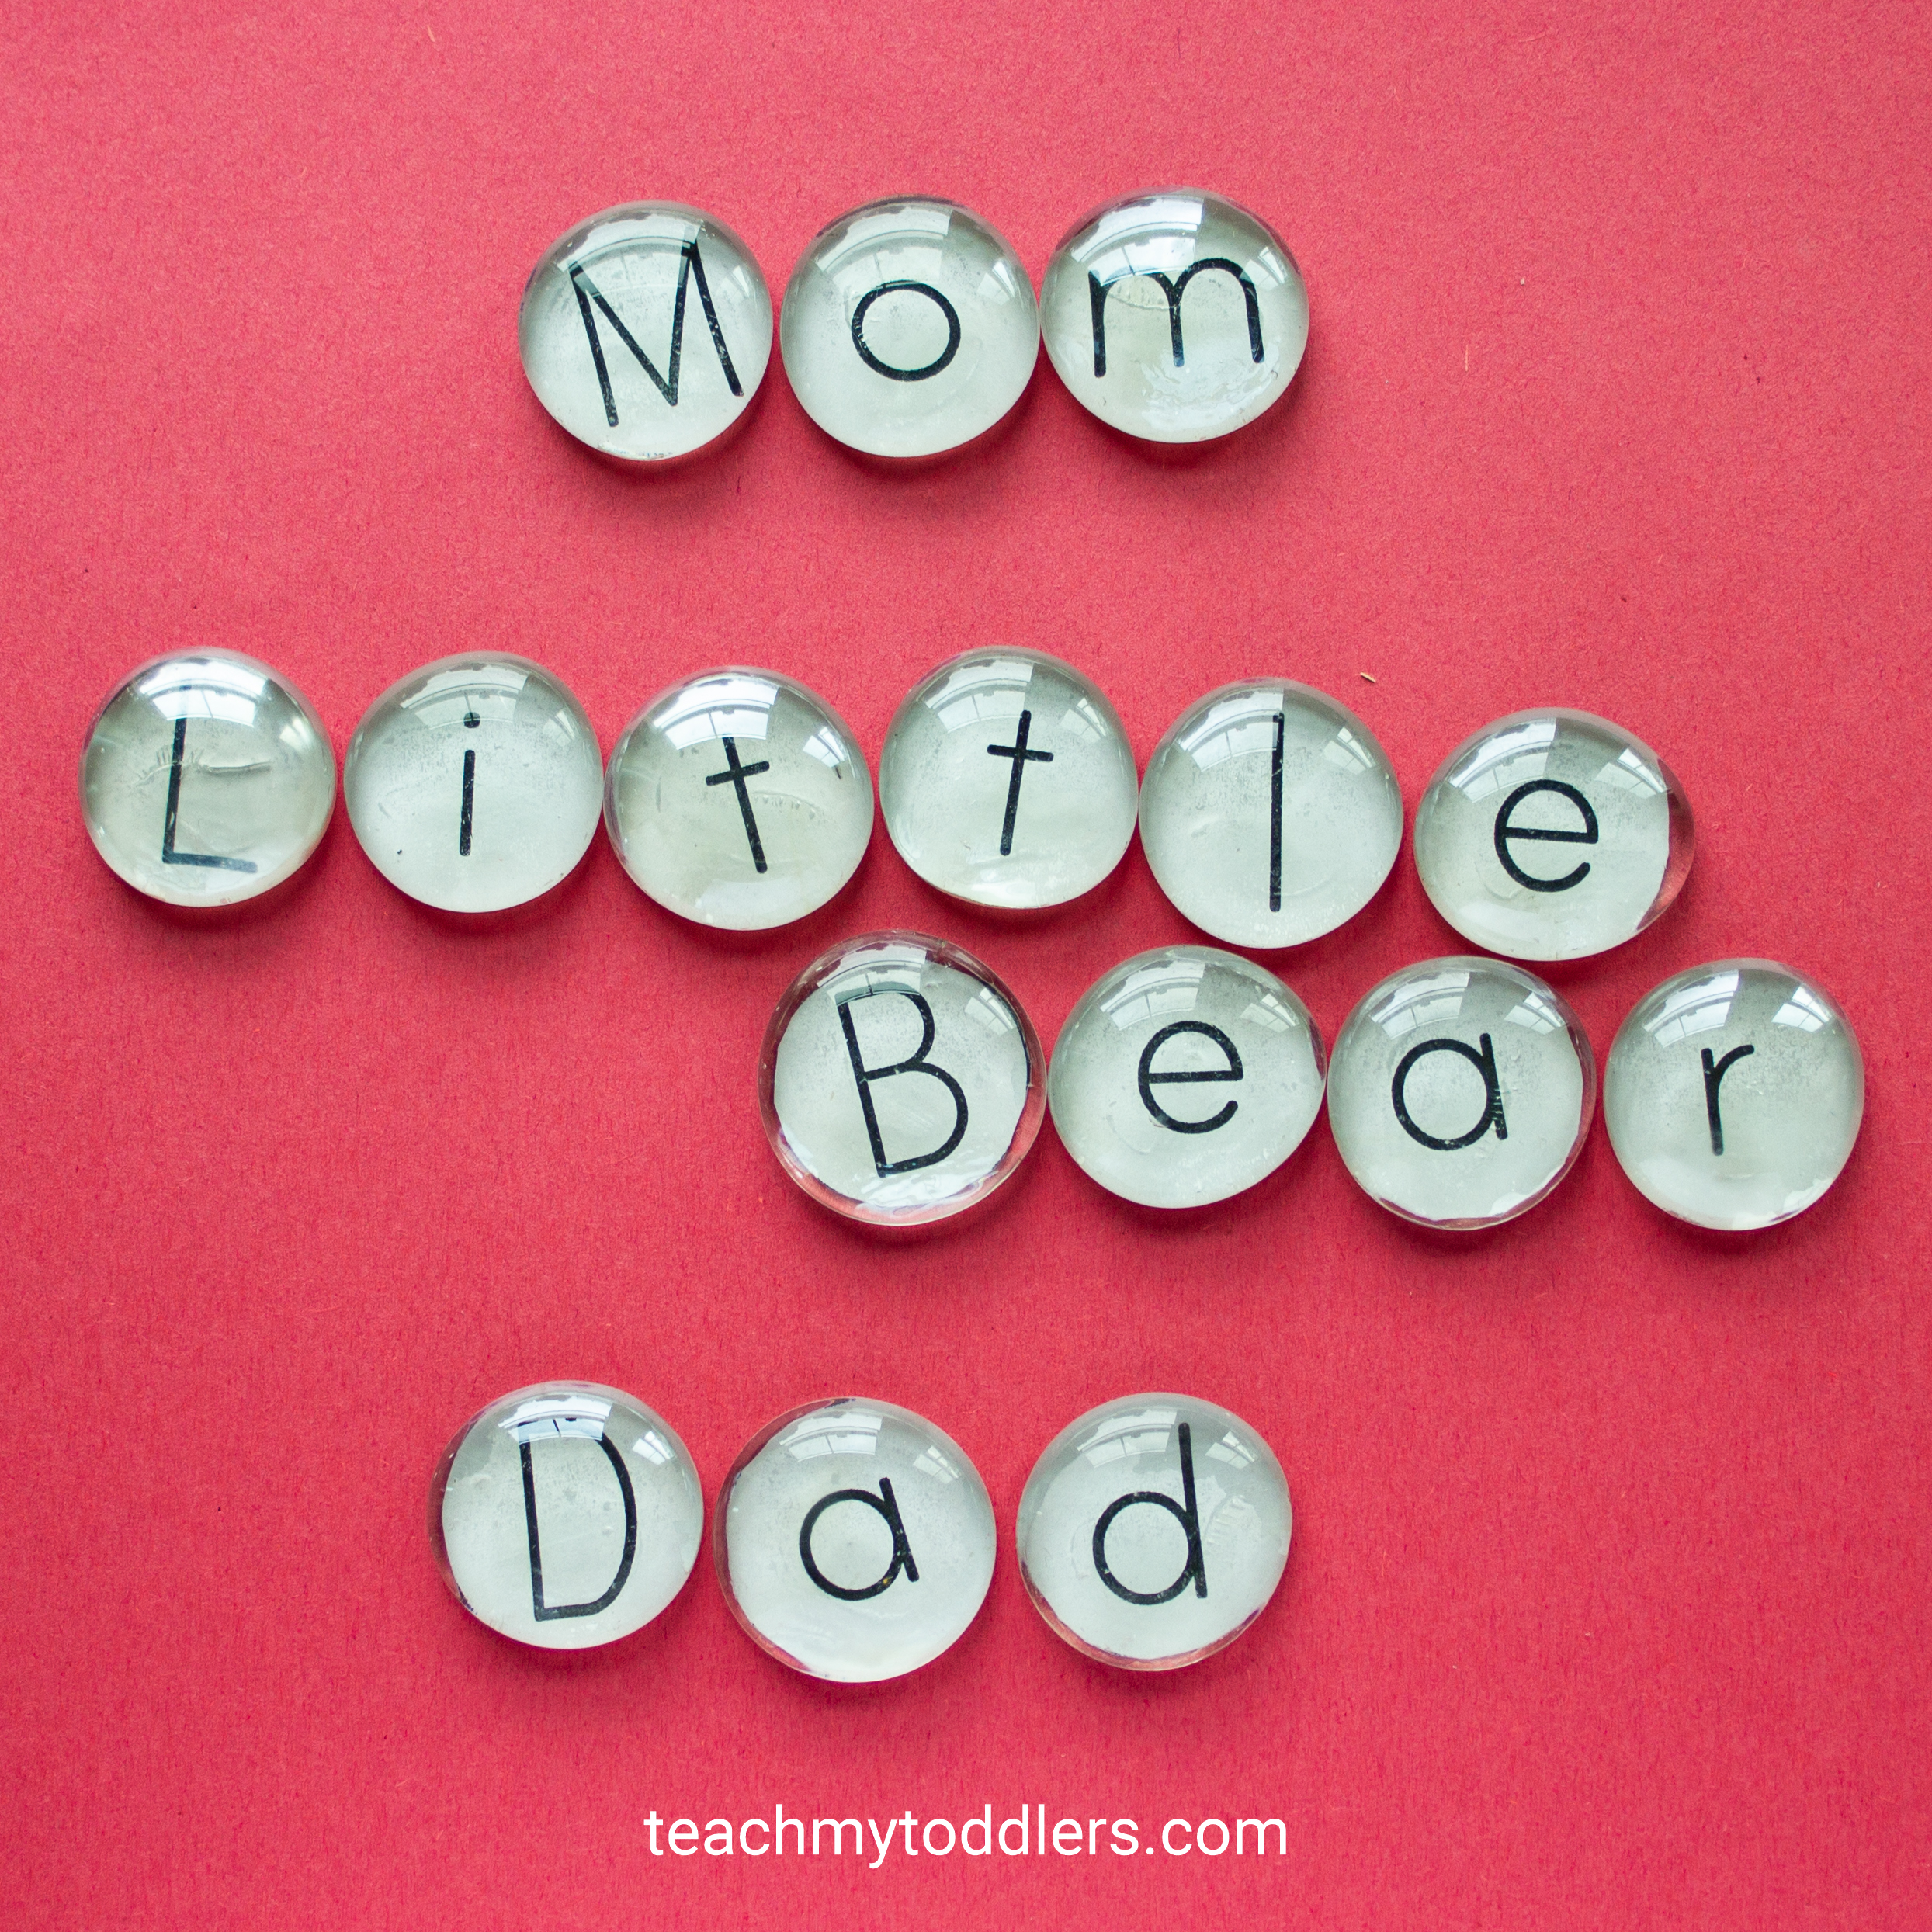
We also practiced putting the letters in alphabetical order. I took out the extra letters before we did this. 🙂
I really liked how heavy these letters are. They were easy to pick up and the letters were easy to see, but they also stayed in place once they were set down. So far we haven’t had any problem with the marbles breaking or cracking. Some were already slightly cracked on the inside, but no new cracks, yet.
These could be even cooler if you have the letters printed on colored paper. I know that writing words with consonants blue and vowels red is really helpful with spelling. Get creative. If you don’t have a child who needs an alphabet, you can even just use scrapbook paper and add a magnet to the back.