About a week ago I did a fun wind lesson with my kiddies. We talked about the wind and observed how different objects changed when they were in the wind as opposed to inside. During the lesson, one of the objects we observed was a wind chime from the dollar store. Unfortunately, it did not work extremely well with this lesson. However, Little Bear and Smiley Man have been fascinated with it, so I decided we should make our own that would work a little bit better in a light wind.

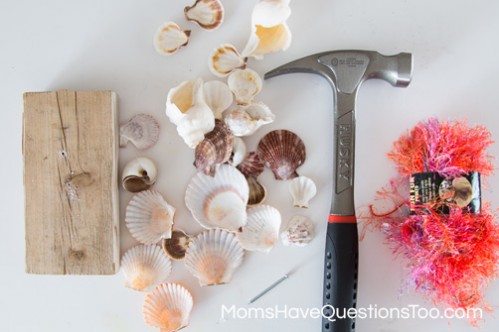
To make this wind chime spring craft, you will need a few materials to begin:
- Shells (I got a bag of shells from the dollar store and they worked great)
- Yarn (we used a funky and fuzzy yarn, but you could also use regular yarn, fishing line, thin twine, jewelry wire, etc.)
- Pipe cleaner
- Hammer
- Nail
- Small piece of wood
First, spread out your shells and remove any broken pieces. Next, you will make a hole in each shell for your yarn to go through. I placed a shell on top of my piece of wood. Then, I put a hammer on the shell, then I carefully hammered the nail into the wood to put a hole through the shell.
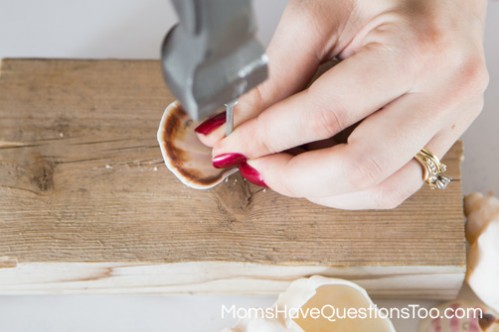
Make sure you don’t hammer too slowly because it will be easier to crack the shell. Some of the more fragile shells may crack anyway. I only had one or two shells crack so much that I couldn’t use them. I still had plenty of shells for the wind chime.
Next, thread yarn through the hole and tie a knot. Decide how long you want the yarn to hang, then cut the yarn. You will want the yarn lengths to be similar, but not exactly the same. This will make it more pleasing to the eye and it will also make it work better as a wind chime.
When you have holes in all the shells and yarn tied through all the holes, get your pipe cleaner. Make a small circle with your pipe cleaner. You could also use a small embroidery hoop, but the hole I made was even smaller than a small embroidery hood, which is why I used a pipe cleaner. I liked the look of a really small hole.
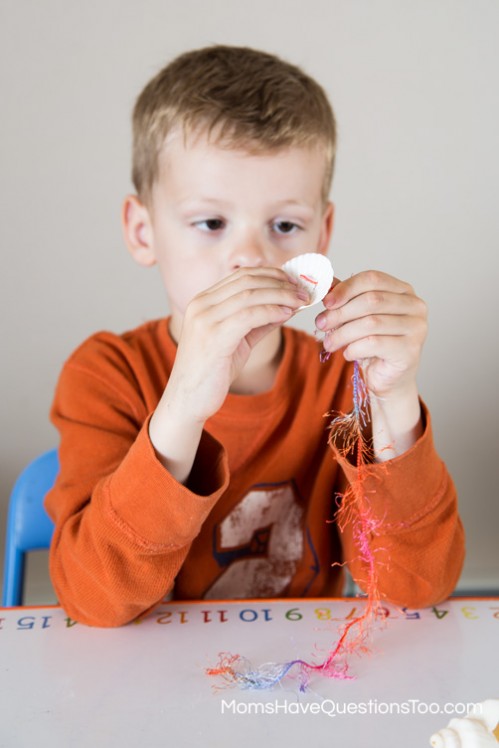
Now, tie each piece of yarn to the pipe cleaner circle. When you have tied all the yarn to the circle, tie more yarn to the top to have a way to hang your wind chime. This craft is definitely a fun one to do with kids. If you do it with children, I suggest making the holes ahead of time so your child doesn’t ever touch the hammer or nail. Also, the awesome yarn I used was really fun, but also hard to see while tying. It was not something Little Bear could easily help with. So, I also suggest using a regular yarn if you want your child to help.
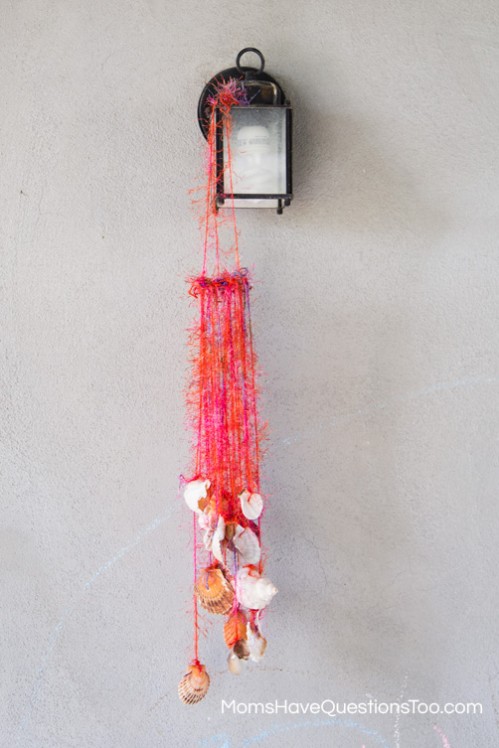
When our wind chime was all finished, I hung it on the light fixture just outside our back door. It has only been slightly windy, but I can hear the shells hitting and making a beautiful sound. Luckily, I can really only hear the wind chime when I am outside. That means it doesn’t bother me when I am inside working. Win win.
Love this idea! Will be adding this to my summer list of fun. Thanks!
Thank you!
This looks really fun!! We are planning to make a wind chime with Keys when we study the letter K! :) Thanks for this idea–off to pin!
Thank you! The keys are a great idea!
We’re off to the beach soon, will have to pack a hammer and string
Fun! It would have been great if we could have used shells the boys had gathered themselves. Great idea!